Address
86 Amesbury Road
Manchester M9 6JF United Kingdom
Learn how to clean oven racks with simple, low-mess methods for baked-on grease, plus practical tips to protect your oven and save scrubbing time at home.
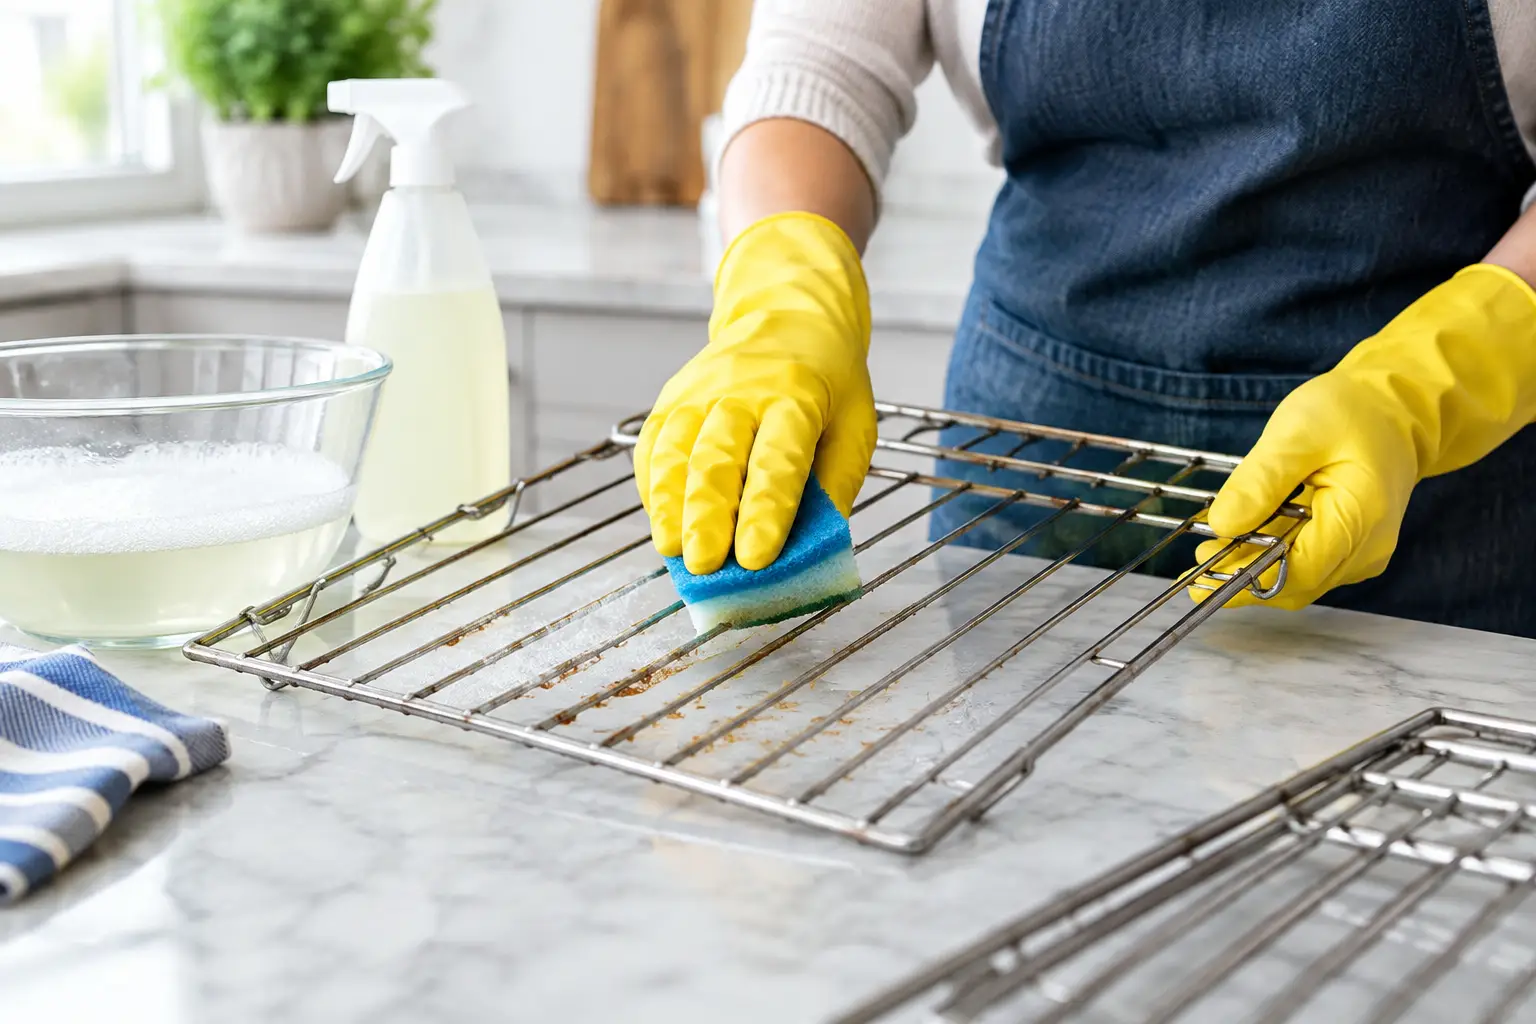
A rack can look clean enough until you pull it out of the oven and find every bar coated in brown, sticky residue. The good news is that learning how to clean oven racks does not need a harsh cleaner, a full afternoon of scrubbing or a cloud of chemical fumes in the kitchen. The best method depends on how much grease has built up, what type of rack you have and how much mess you are happy to deal with.
For everyday grime, warm water and washing-up liquid may be all you need. For years of baked-on splatters, a longer soak and a little patience will make the job far easier. Pick the approach that suits your oven racks, then let the cleaning product do most of the hard work.
First, make sure the oven is completely cold. Slide the racks out carefully and check for loose crumbs or burnt food. A quick brush over the sink or a wipe with a dry cloth keeps the soaking water from turning into sludge straight away.
Most removable oven racks are chrome-plated steel, but finishes vary. Avoid steel wool, wire brushes and very abrasive scourers unless the manufacturer says they are safe to use. They can scratch the coating, leaving the metal more likely to rust or collect grime. If you are unsure, start with the gentlest option and move up only if needed.
It is also worth protecting your work area. A large washing-up bowl, old towel or rubber mat stops racks scratching the sink or bath. Wear gloves if your hands are sensitive, particularly when using bicarbonate of soda, washing soda or a shop-bought oven cleaner.
A warm soak is the sensible first choice for racks with a light to moderate layer of grease. It is low cost, gentle on the metal and uses products most kitchens already have.
Fill a bath, deep utility sink or large plastic storage box with the hottest water that is safe to handle. Add a generous squirt of washing-up liquid and place the racks in the water. If they do not fit flat, turn them halfway through the soak so both sides get time in the solution. Leave them for at least two hours, or overnight for better results.
Once the grease has softened, use a non-scratch scourer, washing-up brush or old toothbrush to work around the corners and joins. Scrub along the bars rather than across them. Rinse thoroughly with clean warm water, then dry with a tea towel before putting the racks back in the oven.
This method is easy, but it does have limits. It will loosen fresh grease beautifully, yet may not shift thick black carbon on racks that have been neglected for a long time. If you are facing that sort of build-up, use bicarbonate of soda next.
If the bath is your only option, lay an old towel underneath the racks first. This cushions the enamel or acrylic surface and helps prevent scratches. Rinse the bath well afterwards, especially if you have used a stronger cleaning solution, so no residue is left behind for the next person.
Bicarbonate of soda is a handy choice when the racks are grimy but you would rather avoid strong fumes. It is mildly abrasive once made into a paste, and it helps lift oily residue after time to work.
Place the racks in a bath, large tray or heavy-duty bin bag. Mix bicarbonate of soda with a small amount of water until it becomes a spreadable paste. Coat the dirtiest areas, paying attention to the ends of the bars and the welded corners where grease likes to settle. Leave the paste for several hours or overnight.
The following day, add warm water and washing-up liquid, then scrub with a non-scratch pad. The paste should have softened the residue enough for it to release with steady pressure. Rinse and dry the racks fully.
For an extra boost, some households add white vinegar after the bicarbonate paste has sat. The fizz looks satisfying, but it is not magic. Vinegar can help rinse away residue, though the real cleaning power comes from the soak, contact time and gentle scrubbing. Do not mix cleaning products at random, and never combine vinegar or any acid with bleach-based products.
Do not fancy filling the bath or trying to squeeze racks into the sink? The bin-bag method is useful in smaller homes, rented flats or busy family kitchens where you want the cleaning contained.
Use a strong, leak-free bin bag and place it in a washing-up bowl, storage box or bath for support. Put the racks inside, add warm water, washing-up liquid and a few spoonfuls of bicarbonate of soda, then tie the top securely. Leave the bag somewhere protected overnight.
In the morning, open it carefully and remove the racks one at a time. The loosened dirt should wipe or scrub away far more easily. Pour the dirty water away slowly, rinse the racks and dry them before use.
This approach saves water and keeps grease from coating the bath. However, the bag must be strong enough not to tear, and it is best not to use boiling water, which can weaken plastic or cause leaks. Keep it well away from children and pets while it is soaking.
A dedicated oven cleaner can be the quickest answer for very heavy, sticky deposits. It is useful when standard soaking has made little difference, especially on racks used regularly for roasting, grilling and cooking without a tray underneath.
Choose a product labelled as suitable for oven racks and follow its directions exactly. Work in a ventilated space, wear gloves and protect nearby surfaces. Many formulas need only a short contact time, but leaving them on longer than instructed can damage finishes or make residue harder to remove.
After cleaning, rinse the racks particularly well. Any cleaner left behind can smell unpleasant when the oven heats up and may transfer to food. Wipe the racks dry, then leave them to air for a few minutes before refitting them.
Self-cleaning ovens deserve special care. Do not leave racks inside during a high-heat cleaning cycle unless your appliance manual specifically says you can. Extreme heat can discolour the metal, warp the racks or damage the smooth coating that helps them slide in and out.
The awkward bits are usually not the long bars but the corners, runners and spots where two pieces of metal meet. An old toothbrush, small nail brush or narrow cleaning brush gets into these areas without the need to attack the whole rack with an abrasive pad.
If residue remains after one attempt, repeat the soak rather than scrubbing harder. Two gentle cleaning sessions are kinder to the rack than one determined session with a harsh scourer. For a greasy film that feels tacky rather than burnt on, washing-up liquid is often more effective than adding extra bicarbonate of soda because it is designed to break down oil.
It also helps to clean the oven door, shelf supports and the oven floor separately. Do not assume the same cleaner is safe for every surface. Glass, enamel, aluminium and coated parts can all react differently, so check the instructions on both your appliance and cleaning product.
You do not need to deep-clean oven racks after every Sunday roast. A quick wipe once they have cooled, combined with a more thorough soak every few months, is enough for most households. If you cook frequently or use the grill a lot, you may want to clean them more often.
Use roasting tins with high sides for fatty foods, and place a tray beneath dishes that are likely to bubble over. This small habit prevents much of the burnt-on mess that turns rack cleaning into a bigger task. Lining trays with appropriate oven-safe liners can help too, but keep liners away from heating elements and never block vents.
For practical household jobs like this, having a non-scratch scourer, sturdy gloves, bicarbonate of soda and a decent cleaning brush in the cupboard makes all the difference. EasyPeasyMate.Shop is built around those simple, useful essentials that help everyday chores take less time.
Next time the oven is cooling after a big meal, pull the racks out and give them a quick wipe before the splatters set. It is a small job now that saves a much tougher one later.
