Address
86 Amesbury Road
Manchester M9 6JF United Kingdom
Our watering timer setup guide helps you schedule smarter garden watering, avoid waste and keep pots, borders and lawns thriving all season long daily.
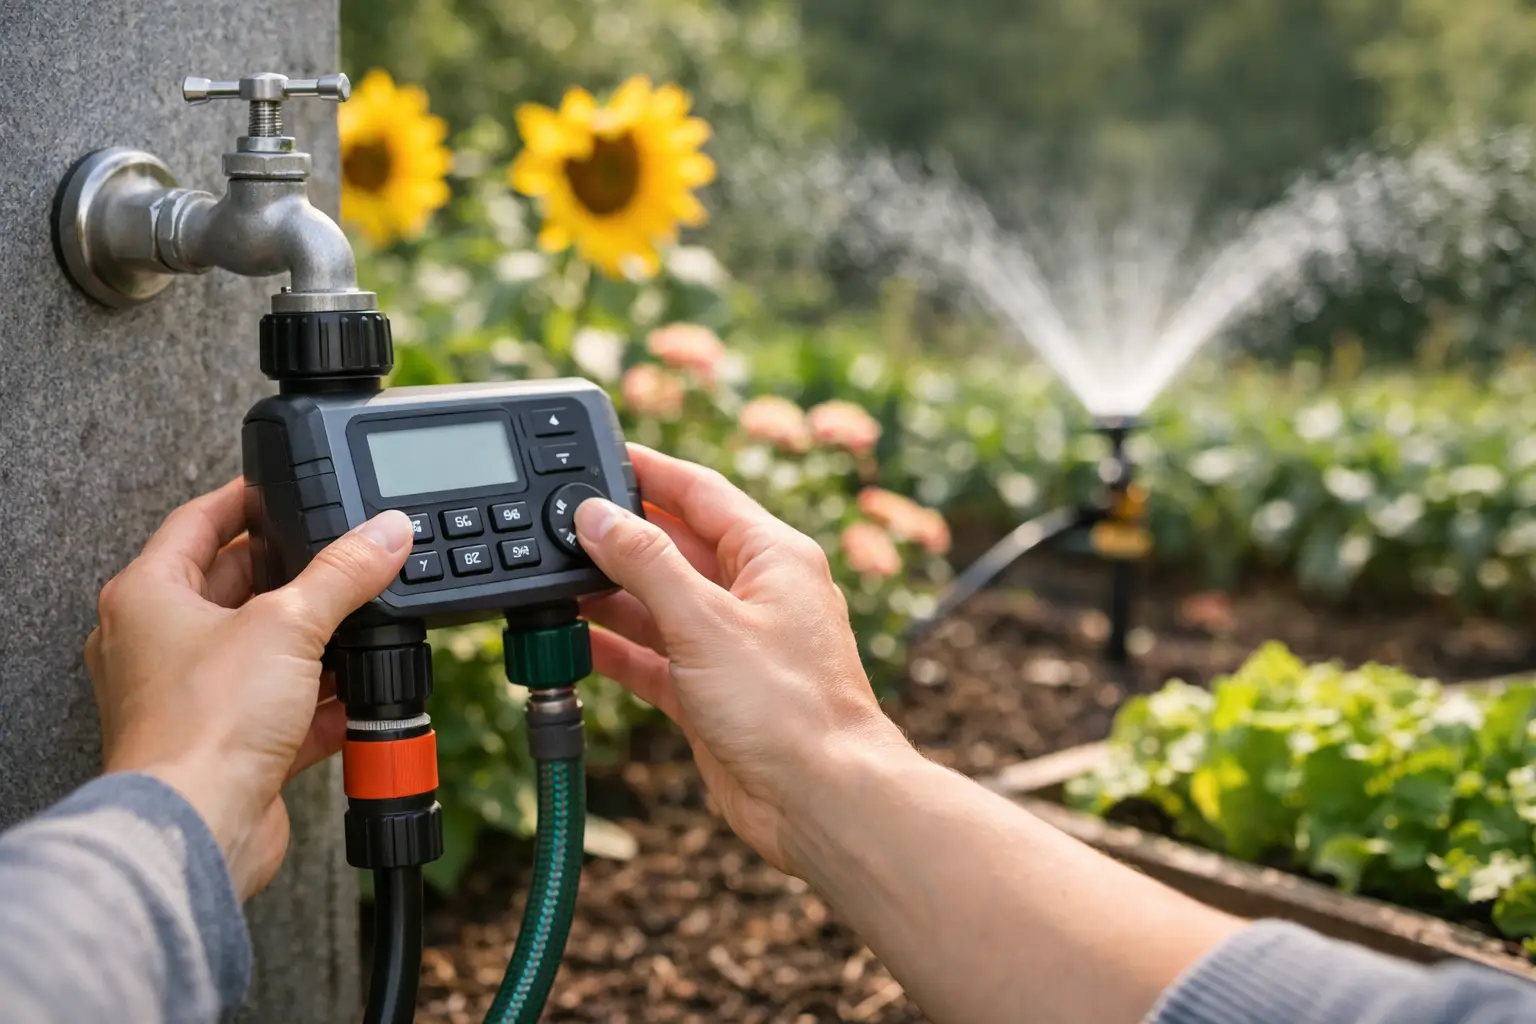
A few hot days can turn a thriving patio display into drooping pots, especially when work, school runs or weekends away get in the way. This watering timer setup guide shows you how to take the pressure off daily watering without simply soaking everything on a fixed schedule. Set up well, a timer gives plants a steady drink, saves time at the tap and helps avoid wasting water.
A watering timer sits between your outdoor tap and the hose, drip line or sprinkler. It opens at the times you choose and shuts off automatically. Most models are battery powered, so there is no need to run cables across the garden, but they do need a fresh battery and a good seal at every connection.
First, decide what you are actually watering. Hanging baskets, containers and greenhouse plants usually benefit from a short, regular watering cycle because their compost dries quickly. Established borders and lawns are different. They generally do better with a longer, less frequent soak that encourages roots to grow deeper rather than staying close to the surface.
Check that your outdoor tap, hose fittings and irrigation kit all use compatible connectors. A timer usually has a threaded inlet that screws on to the tap, plus an outlet for a hose connector. If your tap is indoors, or you only have a kitchen mixer tap, do not force an unsuitable fitting. A purpose-made adaptor may be needed, and it is worth making sure the connection is secure before leaving it unattended.
It also helps to test your water pressure. Drip irrigation works at lower pressure than many sprinklers, while a long hose run, leaky joints or several open outlets can reduce flow at the far end. If you are watering two areas with very different needs, such as a thirsty greenhouse and an established lawn, a two-outlet timer or separate zones gives you much better control.
Start with the tap turned off. Put fresh batteries into the timer, following the marked polarity, then screw the timer on to the tap by hand. Avoid overtightening: the washer inside the connector should create the seal. Attach the hose or irrigation controller to the outlet and make sure any end caps, connectors and emitters are firmly in place.
Turn the tap on fully, then look closely for drips around the tap, timer and hose connections. A small leak may not seem like much, but it can waste a surprising amount of water over a week and may cause the timer to misbehave if the fitting is loose. Switch the timer to manual mode and run water through the system for a few minutes. Walk the whole route rather than checking only the first few metres.
With a drip line, check that water reaches the final emitters and that each plant is receiving a sensible amount. With a sprinkler, watch where the spray lands. There is little point watering paving, fences or the neighbour’s side of the hedge. Adjust the sprinkler position or use a lower-flow method for smaller beds and pots.
Once the physical setup is sound, programme the timer. Controls differ slightly between models, but the order is usually straightforward: set the current time, choose a start time, set the run time, then select the watering days or interval. Some timers allow multiple programmes in one day, which can be useful for greenhouse staging or baskets in very warm weather. For most garden beds, one early-morning programme is the better place to start.
Early morning is usually ideal because less water evaporates than during the hottest part of the day, and leaves have time to dry. Evening watering can work when mornings are not practical, but regularly wet foliage overnight can encourage fungal problems, particularly in crowded borders and greenhouses.
There is no single perfect setting. Soil type, plant age, weather, shade and the watering method all change the answer. The aim is not to water as often as possible. It is to moisten the root zone enough for plants to cope between cycles.
For containers, begin with a short daily run in dry weather and assess the compost before increasing it. It should feel damp a few centimetres below the surface, not permanently sodden. If water pours straight out of the bottom of a pot, slow the flow or split the programme into two short runs with a pause between them, giving compost time to absorb moisture.
For borders using a soaker hose or drip line, try a deeper watering one or two times a week during a dry spell. Clay soil holds water longer but can puddle if it is watered too quickly. Sandy soil drains faster and may need shorter, more frequent sessions. A sprinkler can be handy for larger lawns, but drip irrigation is often the more targeted choice for beds, veg patches and pots.
Newly planted shrubs, young hedging and vegetable seedlings need closer attention than established plants. A timer is a useful helping hand, not a reason to stop checking the garden. Lift a little mulch, feel the soil and look at the leaves. Wilting at midday does not always mean a plant needs water straight away, but dry soil beneath it usually does.
If you are unsure where to begin, set a modest programme and adjust after a few days. For example, use a short morning cycle for patio pots, a longer drip cycle for a vegetable patch, and separate lawn watering if your timer has more than one outlet. Make only one change at a time, otherwise it is difficult to tell what improved the result.
Rain is another reason to stay flexible. In a typical British summer, a programmed timer can easily water just before or after a proper downpour. If your timer has a rain-delay function, use it when wet weather is forecast. A rain sensor can also be worthwhile for a system that runs regularly. Even then, check whether rainfall has actually soaked into the ground, as a brief shower may barely reach roots under dense foliage.
During a hosepipe ban or temporary use restriction, follow the rules set by your water supplier. An automatic timer does not make restricted hose use acceptable, and restrictions can differ depending on your area and the type of watering system you use.
When a timer does not water at the expected time, the most common cause is an incorrect clock setting or a programme that is still paused after manual testing. Check whether the timer uses a 24-hour display, whether the start time is set to AM or PM where relevant, and whether watering days have been selected.
If the timer waters but the end of the line stays dry, look for a kinked hose, a blocked filter or too many emitters on one run. Most timers include a small inlet filter that catches grit from the tap. Clean it occasionally, especially after winter or if the water flow has noticeably dropped.
A timer that leaks at the tap often needs nothing more than a correctly seated rubber washer. Replace flattened or cracked washers rather than trying to compensate by tightening the unit harder. If the display fades or programmes disappear, change the batteries before they fail completely. Do this at the start of the growing season and again before a long holiday.
Treat your timer like any other useful bit of garden kit: a quick check now saves a bigger job later. Once a week, look for loose fittings, blocked drippers, damaged hose and plants that have grown over a sprinkler. As temperatures rise, alter the programme gradually instead of jumping straight to long daily watering sessions.
At the end of the season, disconnect the timer before a hard frost, remove the batteries and drain any attached hose or irrigation line. Freezing water can damage plastic fittings and seals. Store the timer somewhere dry, then give it a fresh washer and battery check when spring arrives.
A well-set timer should make garden care feel lighter, not hands-off. Give it a few minutes of attention after installation, keep an eye on the soil and let the weather guide your settings. Your plants get the water they need, and you get more time to enjoy the garden rather than standing at the tap.
