Address
86 Amesbury Road
Manchester M9 6JF United Kingdom
Dripping taps waste water, raise bills and test patience. Learn the common causes, simple checks and when to call a plumber before damage spreads at home.
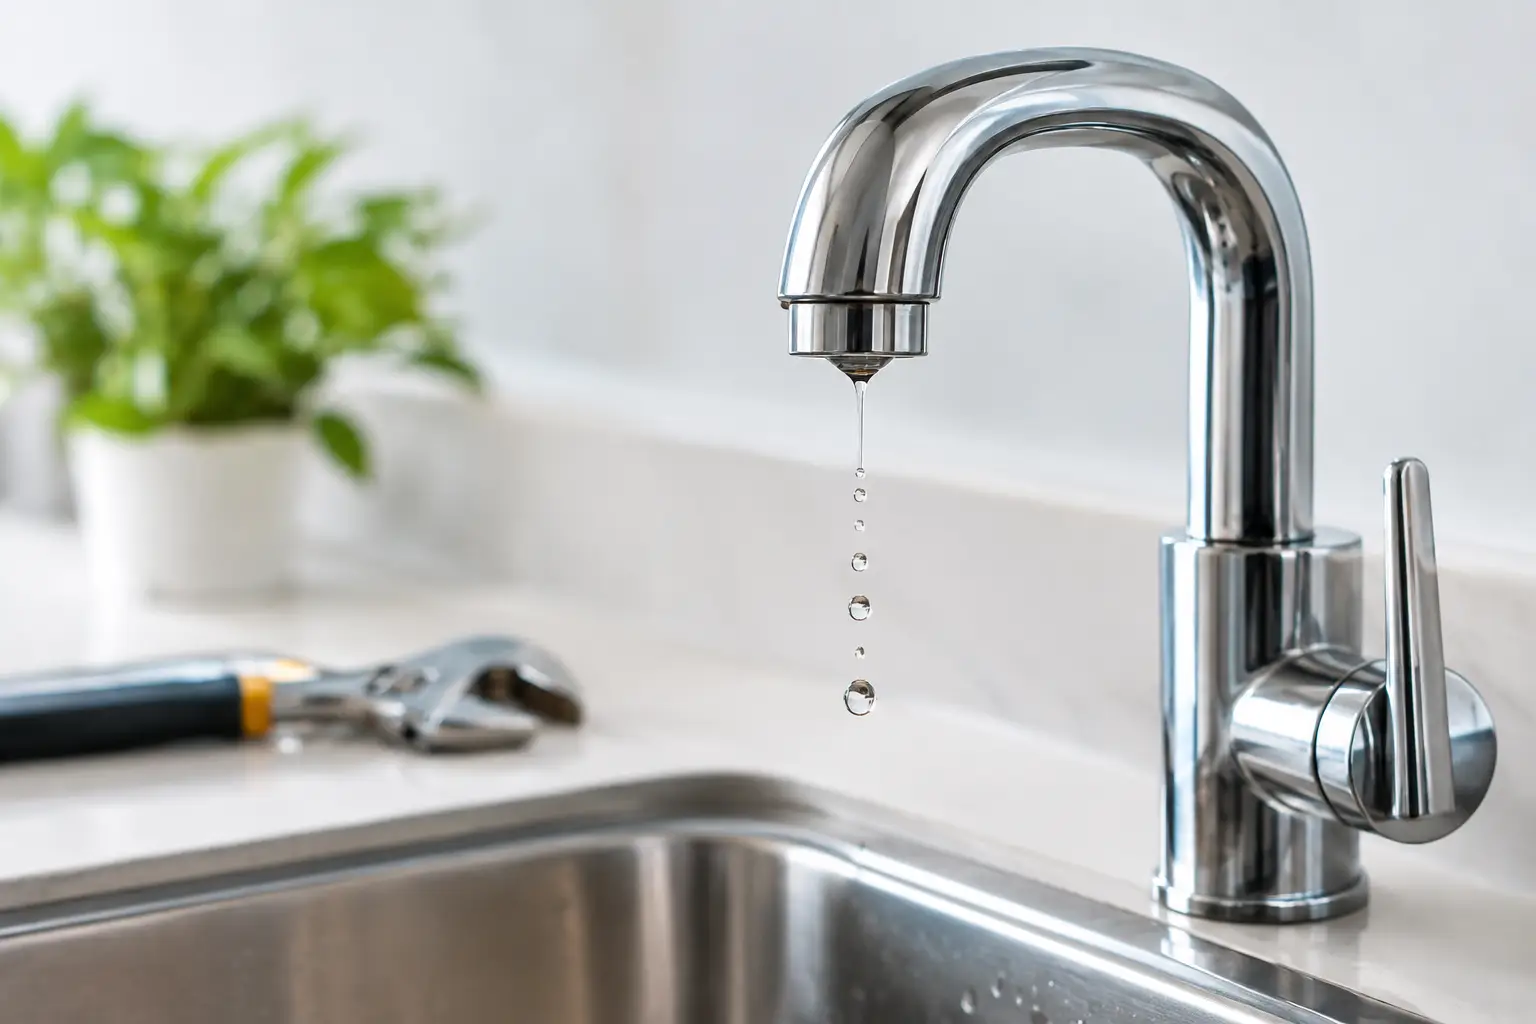
That slow, regular plink from the kitchen or bathroom tap can feel easy to ignore – until the quiet night makes it impossible to unhear. Dripping taps are not just annoying. Left alone, they waste water, can leave marks around the plughole and may point to a worn part that will only get worse.
The good news is that many tap drips have a simple cause. With a little care, the right replacement part and a few basic tools, plenty of householders can deal with a minor leak themselves. The key is knowing what type of tap you have, where the water is escaping from and when it is wiser to stop and call a plumber.
A single drip may not look like much, but it adds up over days and weeks. It also means water is getting past a seal that should be holding it back. In a hard-water area, that steady trickle can quickly create limescale around the spout and basin, making the tap look tired and harder to clean.
There is another practical reason not to keep tightening the handle. Overtightening a traditional tap can damage its washer or valve seat, while forcing a modern mixer tap may harm the ceramic cartridge inside. A gentle turn is all a tap should need to switch off properly.
If the leak is soaking the cupboard below a sink, appearing around pipe joints or reaching electrical items, treat it as more than a nuisance. Turn off the water supply where possible and arrange professional help. Water damage is far more expensive than a small repair.
Not every leak comes from the same place, and the location gives you a useful clue. Dry the tap thoroughly, then run it briefly and switch it off. Watch closely for a few minutes.
Water falling from the end of the spout after the tap is closed usually means a worn washer, valve seat or ceramic cartridge. Water appearing around the base of the handle often points to a failed O-ring or loose gland nut. If water is gathering at the base of the tap itself, check the fixing nut underneath the basin and the flexible hose connections.
A dripping tap may also simply be draining after use, especially on a pull-out spray tap. A few drops immediately after turning it off are normal. Continuous dripping several minutes later is not.
The repair depends mainly on the tap mechanism. Traditional pillar taps, with separate hot and cold handles that require several turns, commonly use a rubber washer. This presses against a metal valve seat to stop the flow of water.
Modern lever taps and many mixer taps usually use a ceramic disc cartridge. These are reliable, but a damaged disc, worn seal or build-up of grit can stop them closing fully. Quarter-turn taps are normally ceramic too, even if they have a more traditional look.
Before buying parts, take a clear photo of the tap and measure or retain the old component. Tap cartridges vary in diameter, height, spline pattern and direction of operation. A replacement that looks nearly right may not fit at all.
If you are comfortable with straightforward DIY, changing a tap washer is often a manageable job. You will usually need an adjustable spanner, flat-head screwdriver, cloth, plug and a suitable replacement washer. A small container for screws and tap parts is handy too.
Start by turning off the water supply. Look for the isolation valve on the pipe beneath the basin or sink. It usually has a small screw slot that turns a quarter turn with a flat-head screwdriver. If there is no local isolation valve, use the main stopcock, normally found under the kitchen sink or near where the mains water enters the property.
Open the tap after isolating the supply to release remaining water, then put the plug in the basin. This simple step prevents a screw or washer disappearing down the waste. Cover the tap body with a cloth before using tools so you do not scratch the finish.
Remove the decorative cap from the top or front of the handle. Beneath it is normally a retaining screw. Take out the screw, lift off the handle and undo the tap headgear with your spanner. Turn anti-clockwise, using steady pressure rather than brute force.
At the bottom of the headgear is the rubber washer, often held in place by a small screw. Replace it with one of the same size and shape. Check the valve seat inside the tap body too. If it is rough, pitted or visibly damaged, fitting a new washer may only be a temporary fix because it cannot make a clean seal.
Reassemble the tap, turn the water back on slowly and test it. If water appears around the handle, the gland nut may need a very slight tighten. Do not crank it down, as this can make the handle stiff or damage the seal.
Ceramic cartridge taps follow a similar starting process: isolate the water, open the tap to relieve pressure and protect the basin before taking anything apart. The handle is usually secured by a grub screw, often hidden under a small cap or at the back of the lever. An Allen key may be needed.
Once the handle and cover are removed, you should see a retaining nut holding the cartridge in place. Lift out the cartridge carefully and compare it with the replacement before fitting. Check that the seals are seated properly and that any locating pins line up with the holes in the tap body.
If the cartridge looks sound but has limescale or grit around it, rinse it clean and inspect the inside of the tap body. Never scrape ceramic discs with a metal tool. A damaged cartridge should be replaced rather than repaired.
Turn the supply back on gradually. A sudden rush of water can dislodge seals or show up a loose fitting before you have finished checking everything.
In many UK homes, hard water is part of the problem. Limescale can build up on the aerator at the end of the spout, reduce water flow and make a tap spray unevenly. It will not always be the direct cause of a drip, but cleaning it is worthwhile while you are maintaining the tap.
Unscrew the aerator by hand if possible, using a cloth for grip. Soak it in a suitable limescale remover or a mild vinegar solution, then rinse thoroughly and refit it. Take care with plated, coloured or specialist finishes, as harsh products can spoil the surface. Always follow the cleaner instructions and test a discreet area first.
DIY is not always the best value if the tap is seized, the valve seat is badly corroded or the pipework underneath the sink is already leaking. Call a qualified plumber if you cannot isolate the water, if the tap body is cracked, or if a repair creates a new leak around the fittings.
It is also sensible to get help with wall-mounted taps, concealed valves and awkward kitchen mixer taps where access is limited. Replacing the whole tap can be a better choice than chasing repeat repairs on an old model, particularly if spares are difficult to match.
For everyday maintenance, keep a small supply of useful household basics such as washers, O-rings, PTFE tape, cloths and a compact adjustable spanner. They take up very little space and can save a last-minute trip when a small job crops up.
A tap should switch off cleanly, without force and without that familiar midnight drip. Deal with the issue while it is small, choose parts that match your tap properly and your sink will be back to doing its job – easy peasy.
