Address
86 Amesbury Road
Manchester M9 6JF United Kingdom
Wondering why taps drip? Find the usual causes, quick checks and practical fixes to stop wasted water, noise and damp patches around your home without fuss.
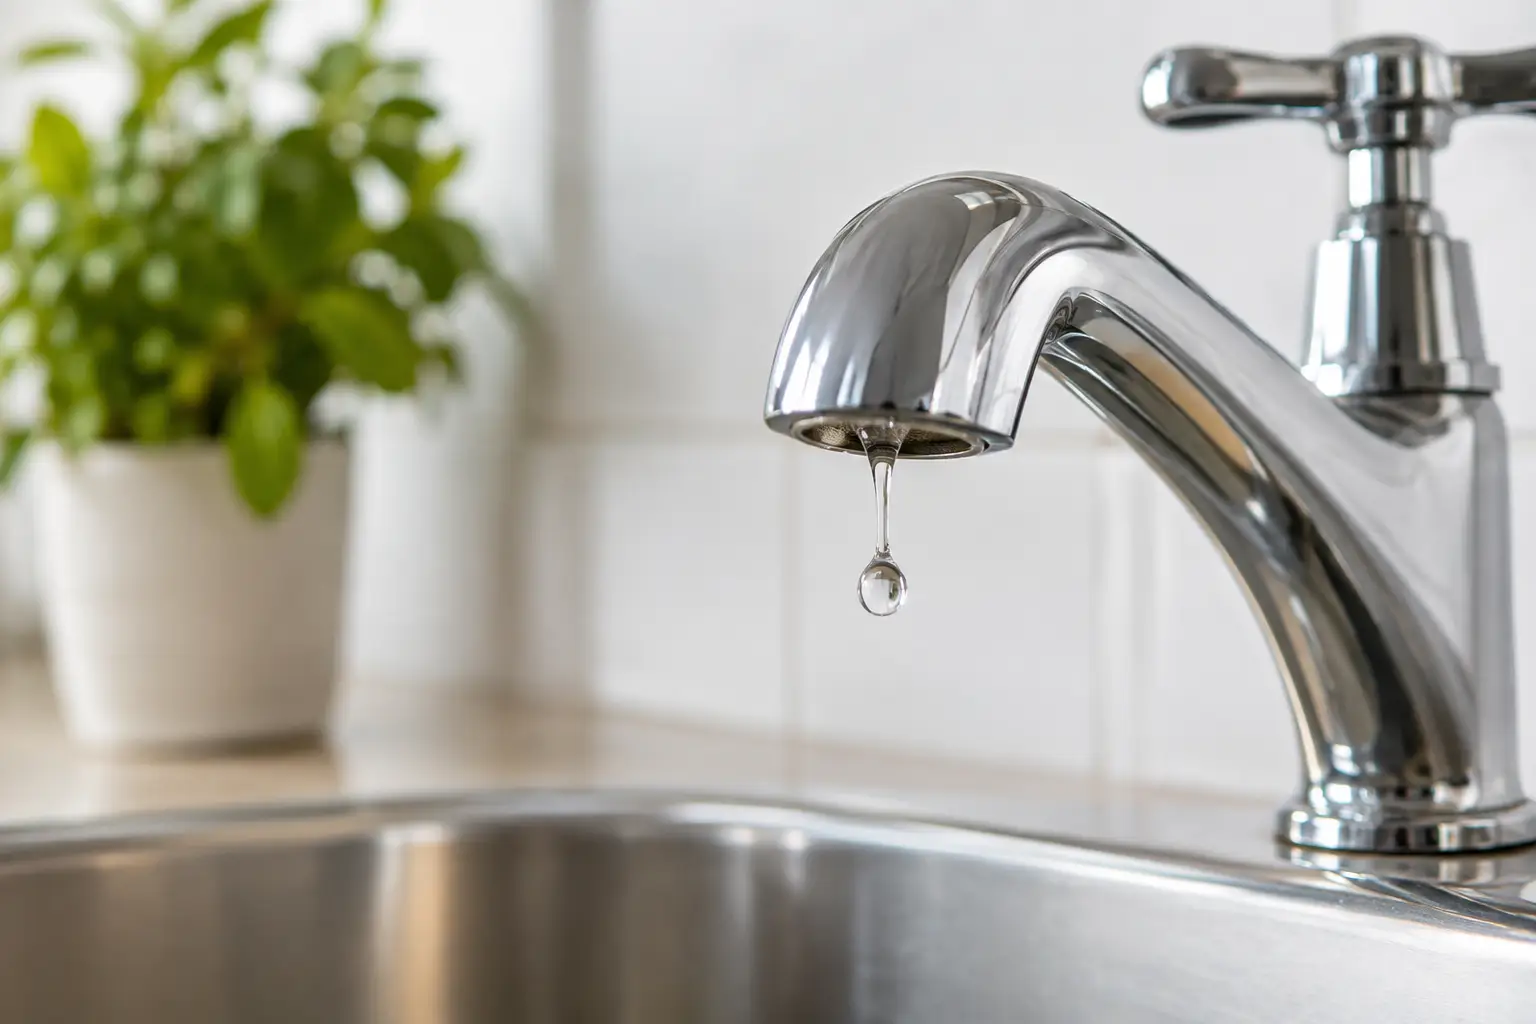
That steady plink into the basin can be surprisingly hard to ignore, especially when the house is quiet. If you are wondering why taps drip, the answer is usually simple: a small internal part is no longer making a watertight seal. The good news is that many dripping taps can be diagnosed – and sometimes fixed – with a few basic tools and a little patience.
A drip may look minor, but it can waste a surprising amount of water over time. It can also leave limescale marks around the plughole, make a bathroom or kitchen feel less cared for and, in some cases, point to a valve that needs attention before it gets worse.
Taps control water by pressing or moving internal components into place. When those components wear down, become coated in limescale or sit out of alignment, a small amount of water can slip through even when the tap is turned off.
On a traditional pillar tap or separate hot and cold tap, the usual culprit is a worn washer. This small rubber or fibre disc sits at the bottom of the tap mechanism. Each time the tap is closed, it is pressed against the valve seat to stop the water flow. After years of use, it can become flattened, split or hardened.
Mixer taps often work differently. Many use a ceramic cartridge containing two very smooth discs with carefully placed openings. Turning the handle lines the openings up to let water through, then closes them again. Ceramic cartridges are durable, but grit, scale or a cracked seal can still prevent a complete shut-off.
Limescale is a familiar problem in many UK homes, particularly in hard-water areas. It can build up around the aerator at the spout, inside the valve and on seals. A blocked aerator does not usually cause a drip on its own, but scale inside the tap can interfere with moving parts and make turning the handle feel stiff.
A damaged valve seat is another possibility. The valve seat is the fixed metal surface that the washer closes against. If it is corroded or pitted, fitting a fresh washer may not solve the problem because there is still no smooth surface for it to seal against. This is more common with older taps.
Not every apparent drip has the same source, and the location helps you choose the right fix. Dry the tap thoroughly with a cloth, then watch it for a few minutes.
If water falls from the spout after the tap has been fully turned off, the issue is inside the mechanism: commonly a washer, cartridge, O-ring or valve seat. A few drops immediately after use can simply be water left in the spout. A drip that continues for several minutes or returns regularly needs attention.
If water appears around the base of the handle or runs down the body of the tap while it is on, the seal around the spindle may be worn. This is often an O-ring or gland packing issue. It may not drip when the tap is off, but it still wastes water and can leave moisture around the fitting.
Water beneath the sink is a different job altogether. Check the flexible hoses, isolation valves, waste pipe and trap rather than assuming the tap itself is at fault. Put a sheet of kitchen roll beneath the pipework, run both hot and cold water, then look for the first wet patch. This simple check can save a lot of guesswork.
Before buying replacement parts, identify the kind of tap you have. A conventional tap generally needs several turns of the handle to open or close. It has a rubber washer at the end of a threaded spindle, and replacing that washer is often a straightforward repair.
Quarter-turn and lever mixer taps tend to use ceramic cartridges. The cartridge needs to match the existing one in size, height, spline count and hot/cold orientation. Two cartridges can look almost identical but fit differently, so remove the old part first if possible and take clear measurements before ordering a replacement.
Monobloc kitchen taps, where hot and cold water are controlled from one central body, may contain a cartridge beneath the lever. Pull-out spray taps can have additional hoses and diverter parts. They are still repairable, but it is worth checking the manufacturer’s instructions if the design is less familiar.
Start by turning off the water supply. Many sinks have small isolation valves on the pipework below, operated with a flat-head screwdriver. Turn the slot a quarter turn so it sits across the pipe. If there are no isolation valves, use the main stopcock instead. Open the tap afterwards to release any remaining pressure and place the plug in the basin – small screws have a talent for disappearing down the waste.
For a traditional tap, carefully remove the decorative cap on top of the handle. Unscrew the retaining screw, lift off the handle and use an adjustable spanner to remove the headgear. At the bottom, you should find the washer held by a small screw. Replace it with one of the same size, then inspect the O-ring higher up the spindle while you have the tap apart.
For a cartridge tap, the handle and trim cover usually come off first, revealing a retaining nut or clip. Remove the old cartridge gently, noting its orientation. Clean away loose limescale and debris with a cloth before installing the matching replacement. Do not force the new cartridge: it should sit correctly before the nut is tightened.
Reassemble the tap, turn the water back on slowly and test it. Run both hot and cold for a short time, then close the tap and watch the spout. If the drip has stopped, job done. If not, avoid overtightening the handle. Forcing a tap closed can damage a new washer or cartridge and may make the next repair harder.
If the handle feels rough or the flow is uneven, limescale may be part of the problem. The aerator at the end of many modern spouts can be unscrewed and soaked in a suitable descaling solution. Rinse it well before refitting.
Cleaning can improve flow and help moving parts operate properly, but it cannot repair a split washer, a cracked cartridge or a deeply damaged valve seat. If a tap continues dripping after cleaning, replacement parts are the more sensible next step.
Be cautious with strong chemical products, especially on plated finishes, painted taps and natural stone worktops. Keep cleaners off surfaces they are not designed for, follow the label and rinse splashes promptly. A soft cloth and an old toothbrush are often enough for detailed cleaning around the tap base and handle.
A basic washer or cartridge change is manageable for many confident householders, but there is no prize for struggling with a seized fitting or an awkward leak. Call a plumber if the valve will not isolate, the tap body is cracked, pipework is corroded, water is leaking inside a unit or you cannot identify the correct replacement part.
You may also need professional help when the valve seat is damaged. A plumber can resurface it with the right tool or advise whether replacing the whole tap makes better value sense. With an older, heavily scaled tap, a new fitting can sometimes be the quicker and more dependable option.
Taps are built for everyday use, but a little care reduces wear. Turn handles until they are closed, not until they feel forced. Wipe away standing water around the base, especially in hard-water areas, and clean the aerator occasionally if the flow starts to spray unevenly.
If you are replacing a part, keep the old washer or cartridge until the repair has been tested. It is useful for checking sizes, and it makes future maintenance less of a mystery. A small household toolkit with an adjustable spanner, screwdrivers, cloths and assorted washers can turn a nuisance job into an easy afternoon task.
A quiet tap is one of those small home comforts that you notice straight away. Deal with the drip while it is still a simple repair, and you can get back to a cleaner sink, less wasted water and one less thing making noise after bedtime.
