Address
86 Amesbury Road
Manchester M9 6JF United Kingdom
Learn how to winterise caravan pipes before frost causes costly damage. A UK checklist for draining, protecting and restarting your water system safely.
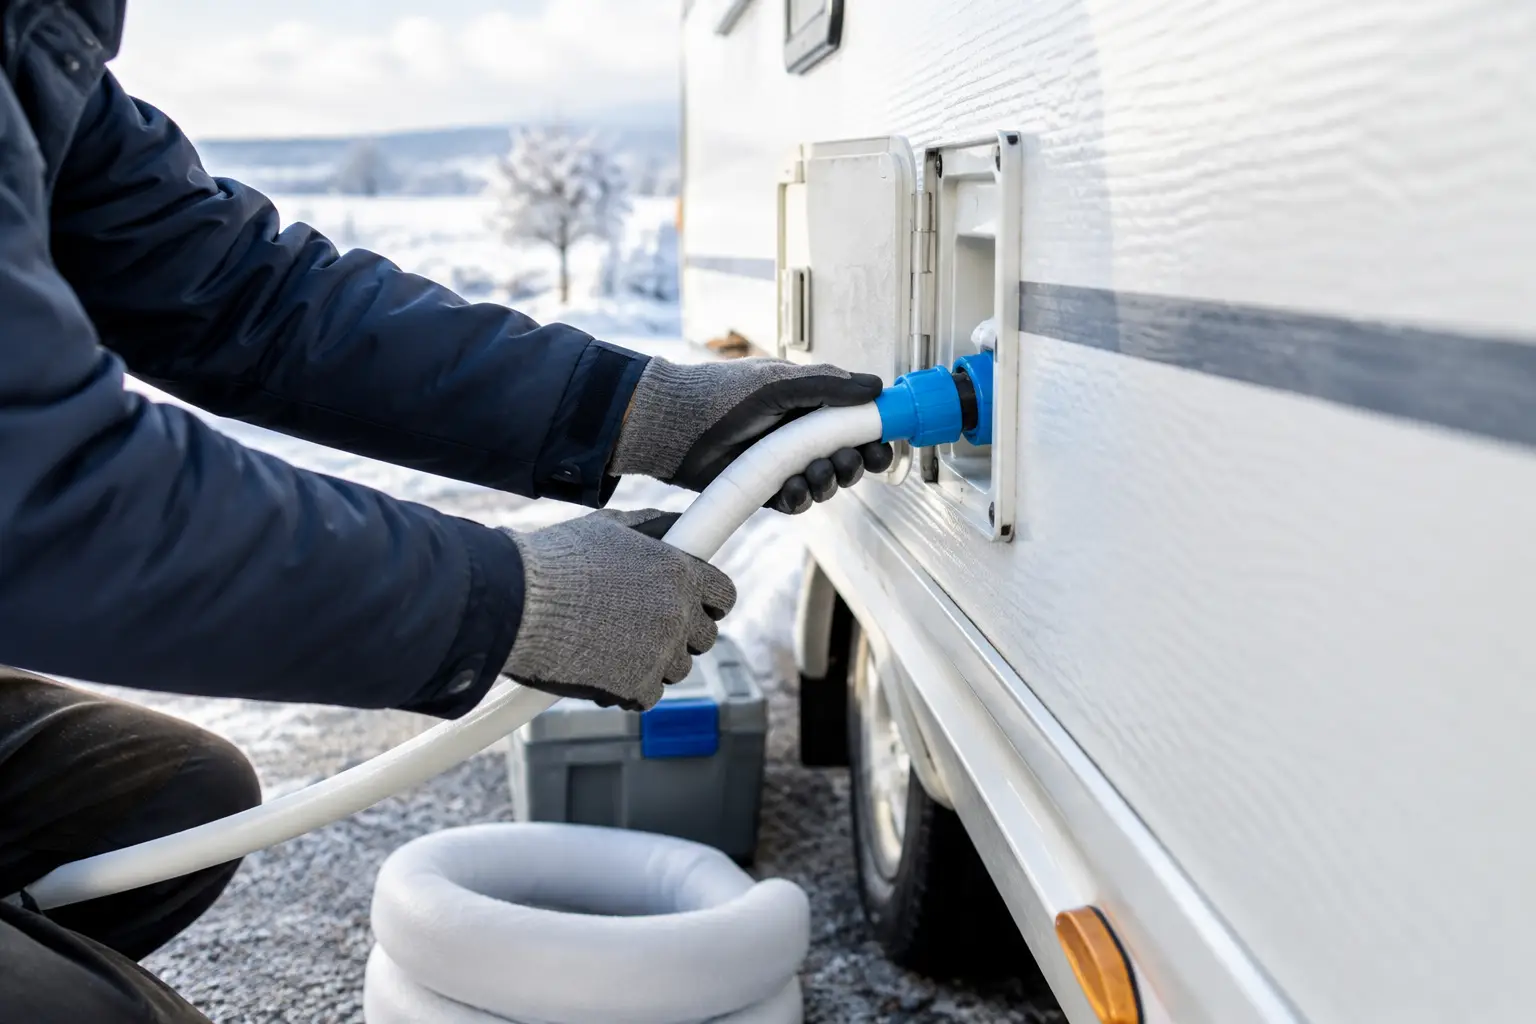
A hard frost can turn a small amount of trapped water into a split pipe, cracked tap or leaking pump housing. Knowing how to winterise caravan pipes is one of those simple end-of-season jobs that can save a very unwelcome repair bill when spring arrives. The aim is straightforward: remove water from every part of the system that could freeze, then leave the caravan dry, clean and ready for its next trip.
Caravan water systems vary more than they first appear. Your model may have an onboard fresh-water tank, an external Aquaroll-style container, a submersible pump, a pressure-switch pump, a water heater or a combination heating system. The basic winterising approach is similar, but the location of drain valves and the correct sequence can differ.
Check the handbook before you begin, especially if you have a modern motor mover, a pressurised system or a boiler with its own frost-protection setting. Follow any model-specific instructions over general advice. If your caravan is still under warranty, this is particularly worthwhile.
Choose a dry day if possible and park on level ground, or with a very slight tilt towards the drainage point. Switch off the water pump and disconnect the electric hook-up before working around water fittings.
You do not need a complicated toolkit. A bowl or old towel is useful for catching drips, while a soft cloth helps dry fittings and wipe down the sink area. Keep the caravan keys and handbook nearby, and have a torch to hand for checking cupboards and low-level service lockers.
If you plan to use compressed air or a potable-water antifreeze product, only use a method approved for your specific caravan. These methods can be useful in some systems, but they are not automatically necessary. For many UK caravan owners, a careful drain-down is the simplest and most reliable approach.
Begin by emptying the external water container, if you use one, and disconnecting it from the caravan. Empty the container fully, rinse away any sediment and store it upside down with the cap off or loosened. Leaving it sealed while damp can encourage stale smells and mildew.
For an onboard tank, use the dedicated drain valve or drain plug. Never assume that opening a kitchen tap will empty a tank completely. Water can remain at the bottom of the tank and in the supply line, so use the manufacturer’s drainage point.
Next, open all hot and cold taps inside the caravan. This includes the kitchen tap, washroom basin, shower and any external shower point. Set mixer taps halfway between hot and cold so water can escape from both sides of the pipework. Leave the taps open once the system has drained.
Run the pump briefly only if your handbook says this is suitable. On many systems, turning the pump on with taps open will push out the last of the water. Do not allow a pump to run dry for long, as this can damage it. A few seconds is often enough, but the safe limit depends on the model.
The water heater is the part most likely to cause trouble if it is not drained correctly. First, switch it off and allow it to cool fully. Opening a drain valve on a hot boiler can be dangerous, so never rush this step after using the caravan.
Open the heater drain valve as directed in the handbook. On some systems, you may need to lift a safety lever or set a frost-control valve to the open position. Water should flow outside beneath the caravan. If it does not, open a hot tap indoors to let air into the system and help it drain.
Once empty, leave the appropriate frost-control or drain valve open for storage if the manufacturer advises it. Most importantly, do not switch the water heater back on until you have refilled and bled the system in spring. Heating an empty tank can damage the element very quickly.
The main taps may be dry while smaller sections still hold water. Work through the caravan slowly and check the details that are easy to miss. Flush the toilet until water no longer enters the bowl, then follow the toilet maker’s instructions for emptying its flush tank or cassette system.
Drain the shower hose by lowering it into the shower tray and letting the remaining water run out. Remove or empty inline water filters where fitted, as a filter housing can crack if water freezes inside. Check any outside water point, washing-machine connection or extra tap in a utility locker too.
Empty the grey-water container and clean it before storage. Grey water does not usually sit within the fresh-water pipework, but a frozen waste container or blocked outlet is still a messy problem to find later. Leave waste taps open if your caravan’s instructions recommend it.
A standard gravity drain-down is enough for many caravans, especially when the caravan is stored in a sheltered location and every drain point has been used correctly. However, if your caravan is stored in a particularly exposed area, or you know its pipework holds water in low spots, extra protection can offer peace of mind.
Compressed air can clear residual water, but it needs care. Excess pressure can damage pipe joints, seals and pump components. Use only low-pressure air equipment designed for caravan plumbing, and follow the handbook rather than guessing a pressure setting. If you are unsure, stick to draining the system or ask a caravan service technician.
Potable-water antifreeze is another option for certain installations, but never pour ordinary vehicle antifreeze into a caravan fresh-water system. It is toxic and unsuitable for drinking-water pipes. Even non-toxic products must be compatible with your system, flushed thoroughly before use and used exactly as directed. For a straightforward seasonal lay-up, fully draining is often less fuss.
Once the water has gone, disconnect and dry the pump where practical. A removable submersible pump should be taken indoors for the winter after cleaning and drying it. For built-in pumps, check the handbook for the recommended storage position and whether any remaining water needs to be drained from the housing.
Leave internal cupboard doors slightly open around pipework, particularly beneath the sink and in the washroom. This allows air to circulate and helps prevent trapped damp. Wipe any visible moisture from the shower tray, taps and service locker before closing up.
It is also worth checking the caravan’s exterior water inlet and protecting it with its cap. Dirt, insects and rainwater can get into an uncovered fitting during storage. A clean, dry inlet makes recommissioning much easier.
Winterising is not only about the pipes. A little ventilation and regular checks help keep the whole caravan in better condition. Leave roof vents in their intended ventilation position, use moisture absorbers if you find them helpful, and visit the caravan occasionally after heavy rain, high winds or a prolonged cold spell.
Avoid sealing the caravan so tightly that condensation builds up. The right balance depends on where it is stored: a covered, well-ventilated storage site needs less intervention than a damp driveway beneath trees. If you use a cover, make sure it is breathable and correctly fitted to avoid rubbing the bodywork.
Practical maintenance products make these seasonal jobs far less of a chore, which is exactly the kind of easier-life essential EasyPeasyMate is here for. The key is not buying lots of kit – it is using the right basics and taking ten extra minutes to check every outlet.
When it is time to travel again, close the drain valves and reconnect the pump or water container. Fill the fresh-water tank, then open each tap one at a time until water runs smoothly without spluttering. Start with the cold side, then repeat with hot water once the heater has been safely filled.
Check beneath sinks, around the water heater, at the pump and inside service lockers for drips. Sanitise the fresh-water system before your first trip, particularly if the caravan has been stored for several months. Use a caravan-safe cleaner, rinse well and do not switch on the water heater until you are sure it is full.
A dry system is a happy system. Make winterising part of the last-trip routine, and you can put the kettle on next season without wondering what is waiting behind the cupboard doors.
