Address
86 Amesbury Road
Manchester M9 6JF United Kingdom
Our caravan levelling ramps comparison explains ramp types, height, grip and weight limits, helping you choose a safer, steadier pitch every time out.
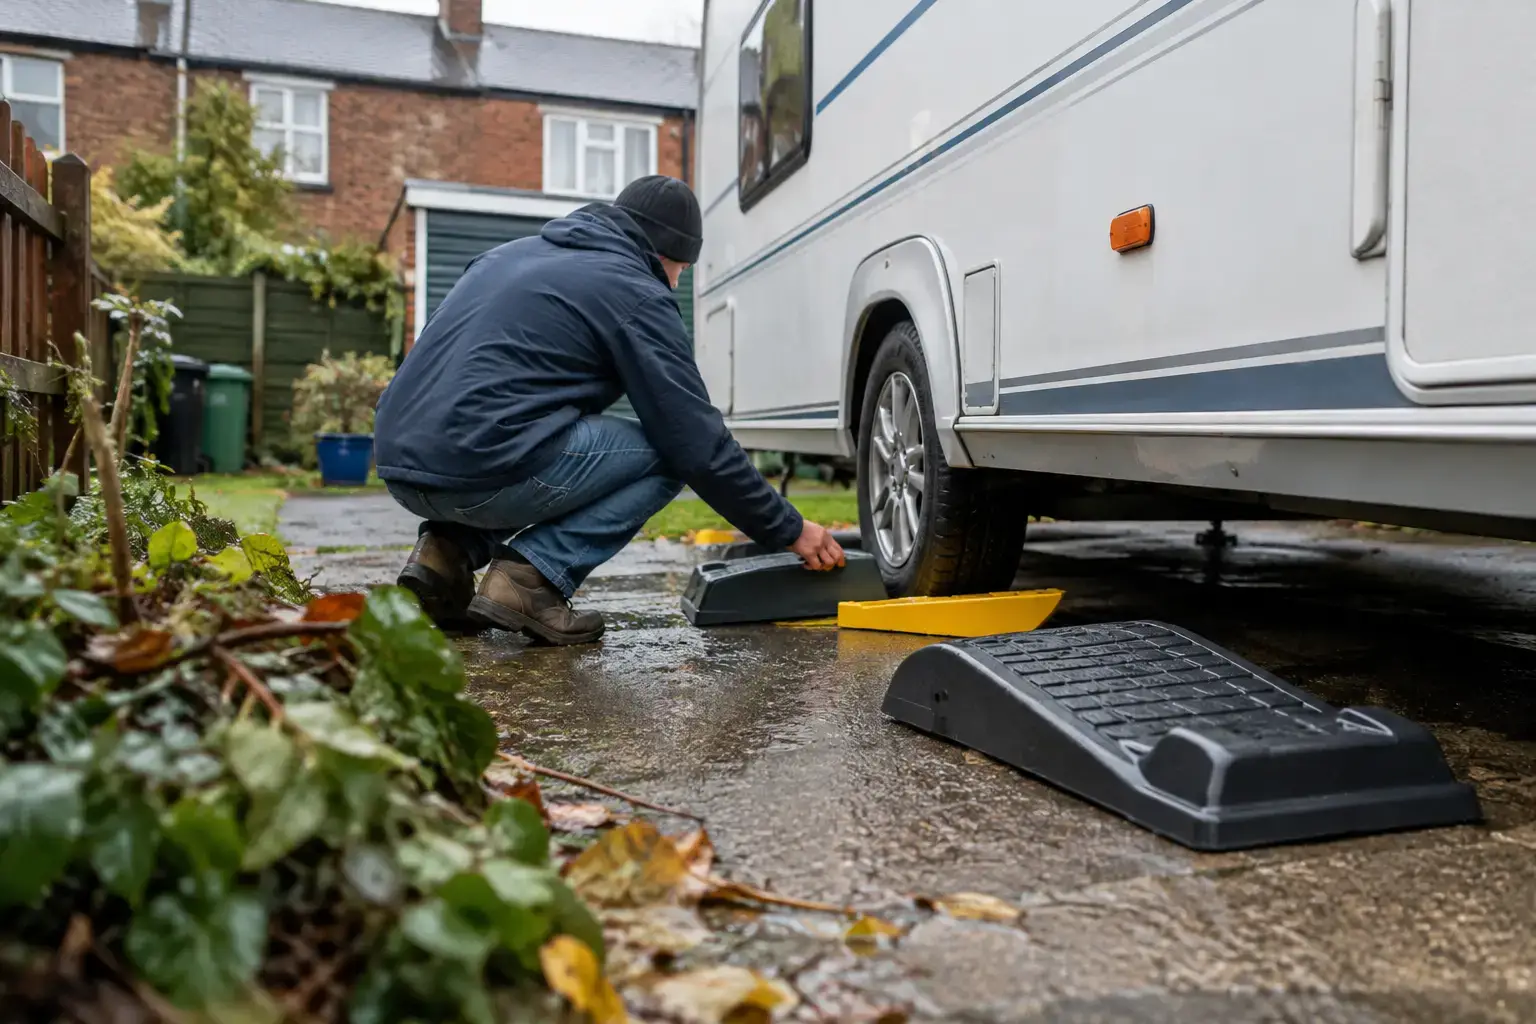
A sloping pitch can turn a relaxing caravan break into a surprisingly awkward affair. Cupboards swing open, water refuses to drain properly and a night in bed can feel like sleeping on a gentle hill. This caravan levelling ramps comparison cuts through the jargon, so you can choose ramps that suit your van, your usual sites and the way you travel.
Levelling ramps are a small bit of kit with a big job. They raise one side of the caravan to bring the floor closer to level, helping your appliances work as intended and making day-to-day life on site far more comfortable. The best choice is not automatically the tallest or most expensive option. It is the one with enough lift, grip and load capacity for your caravan without taking up more locker space than you can spare.
Start with the height you are likely to need. Most standard ramps offer two or three steps, often giving between 40mm and 100mm of lift. That is enough for the mild slopes found on many serviced pitches. If you regularly use more rural, uneven sites, a higher ramp can be useful, but it is worth remembering that a very steep ramp is harder to drive onto accurately.
Load rating matters just as much. Check whether the stated maximum load applies to one ramp, one axle or the whole set. Your caravan’s plated weight is a useful guide, but the load on each wheel will not always be split evenly, especially when the caravan is packed for a family holiday. Choose a product with a comfortably suitable rating rather than cutting it fine.
The ramp’s footprint also makes a difference. Wider ramps spread the load over more ground and tend to feel more stable on firm grass, gravel and hardstanding. Narrow ramps are lighter and easier to store, but can sink or shift on soft ground. If you often tour in wet British weather, broad bases and deep tread are practical features rather than nice extras.
Stepped plastic ramps are the familiar choice on campsites. They normally have two or three raised levels, allowing you to drive forwards or backwards until the caravan reaches the required height. A wheel chock or separate stop then prevents the tyre rolling back down.
Their main advantage is simplicity. They are quick to position, easy to wash down and generally affordable. Look for thick moulded plastic, a textured top surface and a broad, well-supported base. Cheap, thin ramps can flex under a heavier twin-axle caravan, particularly on uneven ground.
The trade-off is that you need to judge the correct step as you approach. It helps to have someone outside guiding you, or to use a levelling indicator visible from the towing vehicle. Once you have done it a few times, the process becomes routine.
Curved ramps provide a gradual rise rather than distinct steps. Some designs have a separate wheel stop or locking block that slots into place once the tyre is at the correct height. They can make positioning smoother because there is no abrupt climb from one level to another.
These are a good option for caravanners who want fine adjustment and a gentler approach. They may also be kinder to the tyres and suspension when manoeuvring slowly. However, they can be longer than stepped ramps, so check that they will fit your front locker or under-seat storage before buying.
Modular levelling blocks use separate interlocking sections to build the height you need. Their flexibility is useful when pitches vary widely, and individual pieces can sometimes double as jack pads or stabiliser pads.
That versatility comes with extra setup time. You must ensure every layer is properly seated and on stable ground, especially with a heavy caravan. For quick overnight stops, conventional ramps are usually faster. For longer stays on awkward terrain, modular blocks can earn their space.
Inflatable systems are less common but increasingly popular with owners who value precise adjustment. A heavy-duty air bag sits beneath the wheel and is inflated to raise the caravan gradually. Because the lift is adjustable, they can handle uneven ground without forcing you to choose between fixed steps.
They are convenient, but they are not the cheapest route and require careful use. The surface beneath must be free from sharp stones, and you need a reliable pump. They are best suited to caravanners who regularly face difficult pitches and are happy to pay more for flexibility.
A lightweight two-berth caravan on well-kept touring parks has different needs from a fully loaded twin-axle family caravan used on farm sites. Before buying, think about where you actually stay rather than planning for every possible scenario.
For a single-axle caravan, a pair of medium-height stepped ramps is often the straightforward, good-value choice. Make sure the tyre channel is wide enough for your caravan’s tyres and that the ramps have enough capacity for the loaded van. A separate pair of wheel chocks is sensible if they are not built in.
Twin-axle caravans need more planning because both wheels on one side may need lifting. Some owners use purpose-made twin-axle levelling aids, while others use two compatible ramps. Do not improvise with mismatched heights or stack ordinary ramps unless the manufacturer specifically says the system is designed for it. Uneven support can put unnecessary strain on tyres, suspension and the chassis.
If storage space is tight, compare the ramps’ dimensions as closely as their lifting height. A bulky set that never makes it into the caravan is no help on site. Handles, nesting designs and a storage bag may sound minor, but they make muddy ramps easier to carry and keep separate from clean equipment.
The ramp needs grip in two places: under the tyre and against the ground. Raised ridges or a textured wheel channel help stop the tyre slipping, while a ribbed or broad underside gives the ramp a better hold on hardstanding and compacted soil.
On wet grass or loose gravel, place a firm board or purpose-made base pad beneath the ramp if the ground is soft. This spreads the weight and reduces the chance of the ramp sinking as you drive on. Avoid loose timber offcuts that can split, slide or create an unstable angle.
It is also worth keeping ramps clean. Mud packed into the tread reduces traction, and grit caught in the tyre channel can scratch plastic or make positioning less predictable. A quick rinse after a muddy weekend is usually all they need.
Before positioning the ramps, unhitch only if your caravan is already close enough to level and stable to do so. In most cases, it is easier to level side-to-side while still attached to the towing vehicle. Use a spirit level or a simple caravan levelling app placed on a flat internal surface to identify which side needs raising.
Place the ramps squarely in front of, or behind, the wheels on the low side. Drive very slowly with a helper guiding you if possible. Stop as soon as the caravan reaches the appropriate step or height, apply the towing vehicle handbrake, then secure the caravan with the ramp stop or wheel chocks before unhitching.
Once side-to-side level is sorted, use the jockey wheel to level front-to-back. Finally, lower the corner steadies until they are firm against the ground. They are there to stabilise the caravan, not to lift it, so do not use them as jacks.
Ramps work best as part of a simple setup kit. A reliable levelling indicator removes guesswork, while wheel chocks add reassurance on sloping pitches. Stable pads beneath the corner steadies can prevent them sinking into soft ground, and a pair of gloves saves bringing mud into the caravan.
For most touring caravanners, there is no need to overcomplicate it. Choose ramps with a suitable load rating, enough height for the places you visit and a shape you can store and handle comfortably. The right pair turns arrival into a quick job, leaving more time for the kettle, the awning and the reason you set off in the first place.
