Address
86 Amesbury Road
Manchester M9 6JF United Kingdom
Use this guide to patio drainage to spot pooling, choose practical fixes and keep your paving safer, cleaner and ready for British weather all year round.
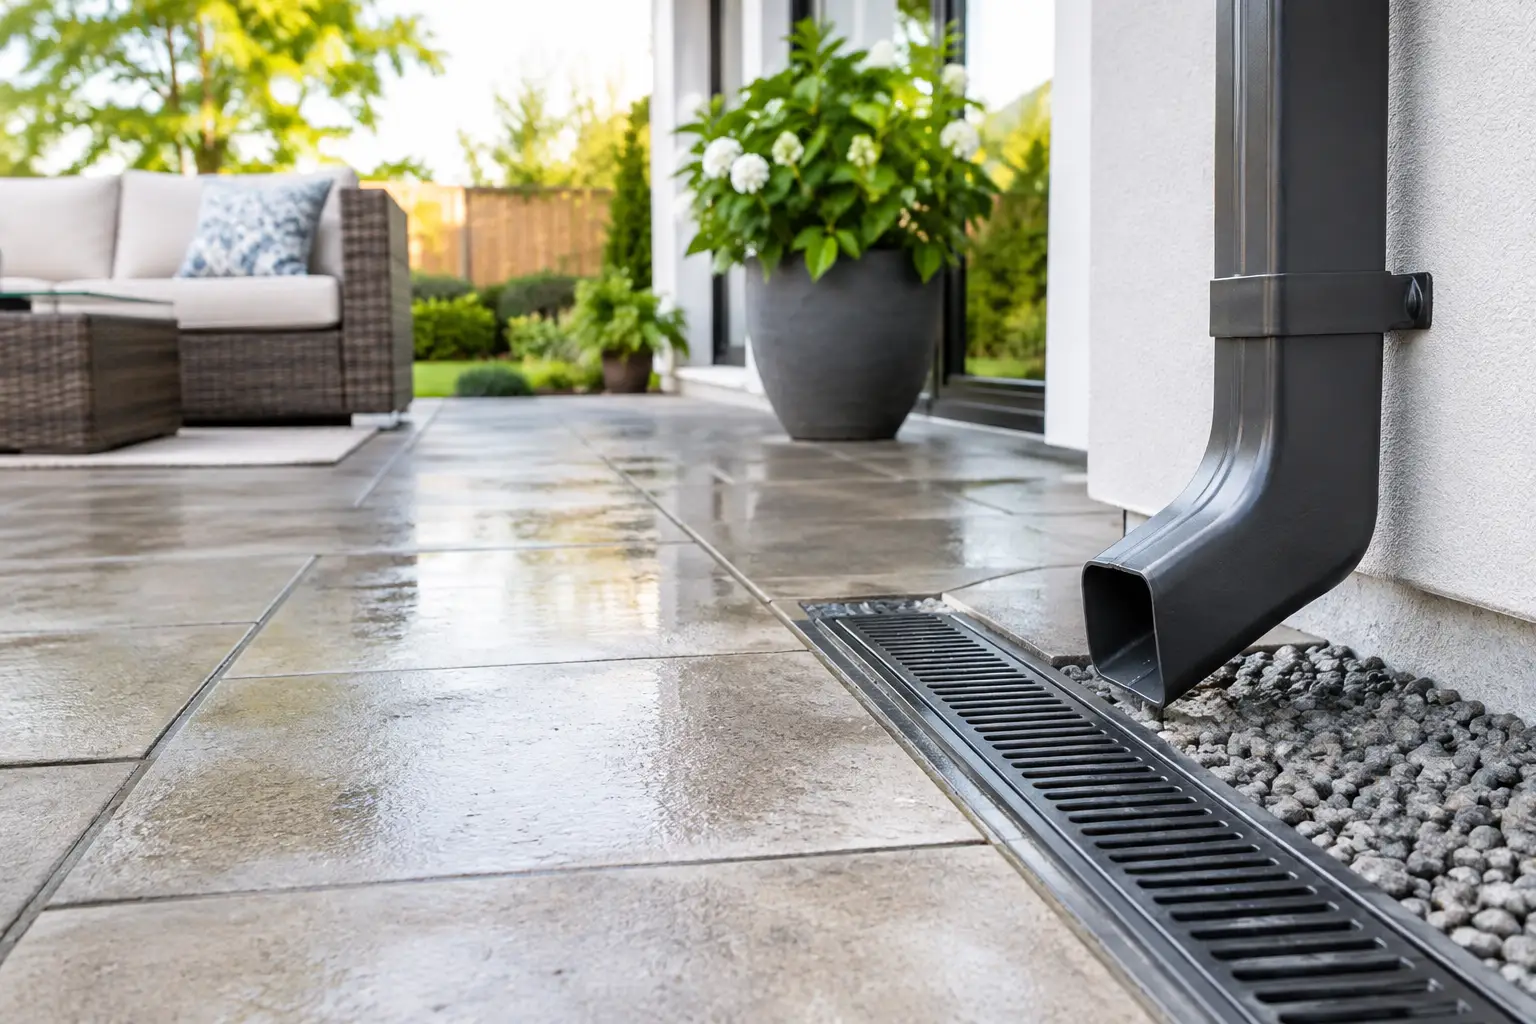
A puddle that is still sitting on the patio the morning after rain is more than an annoyance. It can make paving slippery, encourage green algae, stain joints and, when it sits close to the house, create a damp risk where you do not want one. This guide to patio drainage helps you work out what is going wrong and choose a sensible fix without making a small garden job bigger than it needs to be.
Before buying a drain or lifting a single slab, watch the patio during steady rainfall or run water gently from a hose. You are looking for the route water takes, not just the place it finally gathers. A low spot in the middle of the paving needs a different solution from water pouring off a roof, running down a flower bed or backing up from a blocked gully.
Look for four clear clues: puddles that remain for more than a day, dark or green patches on paving, washed-out jointing material, and water collecting against walls or door thresholds. Also check whether the problem happens everywhere or only at one end. One localised dip can often be repaired neatly. Widespread standing water usually points to the patio’s overall fall, drainage capacity, or both.
Clear the obvious first. Leaves, soil, moss and gravel can block gullies and narrow gaps between paving. Sweep the surface, lift debris from drain covers and flush the area with a bucket of clean water. Avoid forcing a pressure washer directly into loose joints, as it can remove more sand or mortar and leave the paving less stable.
A patio should gently slope away from your home so rainwater has somewhere to go. This slope is called a fall. For many domestic patios, a fall of around 1:80 is a useful starting point – roughly 12.5 mm drop for every metre of distance. On textured or uneven paving, a slightly greater fall may be needed to keep water moving.
The key word is gently. A patio that drops too sharply can feel awkward underfoot and may send water towards a fence, a neighbour’s boundary or a poorly placed planting bed. Measure from the highest point near the property to the intended drainage point using a long straightedge and spirit level, or a string line. Small errors are hard to spot by eye, particularly on large, pale paving slabs.
Keep the finished patio level safely below the damp-proof course of the house. If standing water is reaching the wall, or if the paving has been laid too high, this is not a job to cover up with extra sealant. It needs a proper assessment, as trapped moisture around the base of a property can lead to more expensive trouble later.
If most of the patio drains well but one slab holds water, the simplest answer may be to lift and relay that small area. Check for a sunken base, loose bedding material or broken paving before putting it back. Re-laying a couple of slabs is often more effective than adding a surface drain that looks out of place and still does not address the dip.
For block paving, the repair may involve lifting the affected blocks, topping up and levelling the bedding layer, then reinstating the blocks and jointing sand. Take care not to alter the surrounding fall. The aim is to guide water onwards, not create a new puddle beside the repair.
The best drainage solution depends on the amount of water, the available space and the ground beneath the patio. There is no one-size-fits-all product, and the cheapest option is not always the easiest to maintain.
A channel drain is often the tidy choice where a patio meets the house, garage or conservatory. It is a narrow linear drain with a removable grate, set across the route of the water. It catches surface water before it reaches the building and directs it to a suitable outlet. Choose a grate that can be lifted for cleaning, because silt and leaves will build up over time.
A soakaway can work well when there is room in the garden and the soil drains freely. Water is carried to a gravel-filled pit or a purpose-made crate system, where it gradually disperses into the ground. It is less suitable for heavy clay soil, high water tables or sites where the ground is already saturated for long periods in winter. A soakaway positioned too close to the house can cause the very problem it is meant to solve, so location matters.
A French drain is a gravel-filled trench containing a perforated pipe. It is useful when water is arriving from a lawn, border or higher ground and needs intercepting before it crosses the patio. It can be practical along an edge, but it needs a proper outlet and geotextile membrane to reduce clogging. Simply digging a trench and filling it with gravel may improve a small surface issue, but it will not solve persistent runoff from a large area.
If rainwater from a roof is part of the problem, inspect the gutters and downpipes too. A blocked gutter can overwhelm even well-laid paving. Downpipe water should be routed to an appropriate drainage point or a correctly designed rainwater system, rather than emptied straight across a patio.
Every drainage solution needs a destination. It is not enough to move water away from the back door if it then floods the shed base or runs into a neighbouring garden. Surface water must not be connected to a foul sewer. Requirements can vary by property, location and local drainage arrangements, so check the relevant guidance and use a qualified installer when connecting to existing drains or planning substantial groundwork.
For smaller jobs, it is still worth mapping the route before you start digging. Check for underground services, irrigation pipes, cables and tree roots. If your patio is in a rented home or shared garden, get permission before altering fixed drainage or paving.
Good patio drainage is not a fit-and-forget job. Autumn leaves can block a channel drain in days, while winter freeze and thaw can loosen mortar or widen cracks. A quick seasonal check is easier than dealing with a slippery, green patio in spring.
Sweep leaves before they turn into wet mulch. Clear gullies and channel grates after heavy wind or rain. Refill open joints where needed, and remove moss before it becomes established. If you use a patio cleaner, follow the dilution instructions and protect nearby plants. Harsh products can discolour some natural stone and may damage lawns or borders if rinsed carelessly.
Be cautious with patio sealers. A suitable breathable sealer can make cleaning easier on some materials, but it will not correct poor falls, blocked drains or a sunken slab. On the wrong surface, or when applied over damp paving, it can leave patchy results and trap moisture. Sort the drainage first, then decide whether a finish treatment is worthwhile.
A capable DIYer can clear a blockage, re-joint paving or correct a small local dip. Bring in a professional if water is pooling against the property, the patio needs to be regraded across a large area, drainage runs need connecting, or the ground is moving. These jobs rely on accurate levels, safe excavation and a clear plan for the water outlet.
Ask for the proposed fall, drain type and water destination to be explained in plain English before work begins. A good installer will be happy to do that. It also gives you a practical way to compare quotes, rather than choosing on price alone.
A dry patio is safer, cleaner and far more enjoyable when the weather finally brightens. Give it a quick check after the next proper downpour, deal with the small signs early, and your outdoor space will be ready for cups of tea, playtime and summer suppers instead of another puddle-dodging session.
